

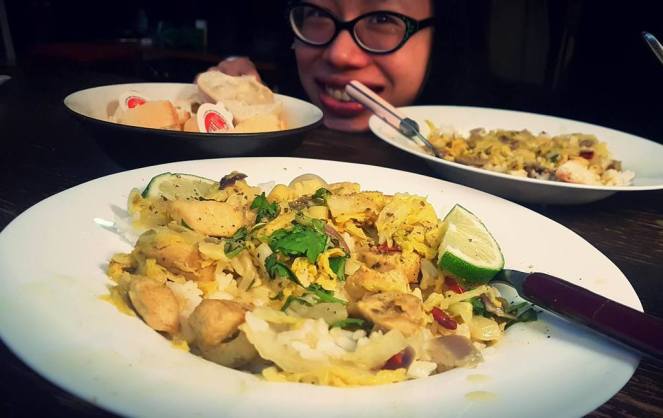
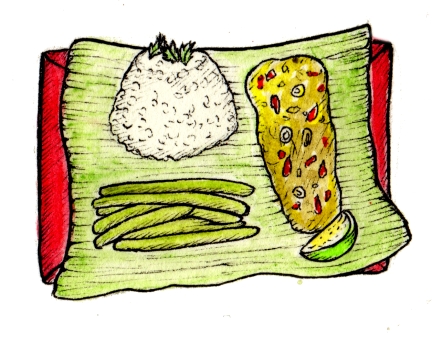
 This is a favourite dish in our household at basically at any occasion if we want something nourishing yet aromatic and fragrant. Paired with fluffy steamed jasmine rice, this dish is truly divine. The coconut curry truly blends with the rice and spices in a marriage of flavours ordained by the priests of food alchemy. The cabbage and tiny meat pieces add variety and texture, the roasted lemongrass saturates your mouth in a buttery dance, and the chilis are just enough to give you a kick without making you cry (except perhaps with tears of joy).
I usually use chicken cut into tiny pieces for this recipe and I always marinate the chicken beforehand with fish sauce, white pepper, salt, a little rice wine and a touch of soy sauce. Sometimes, I also add lime juice and oyster sauce, although I feel it is not so necessary. If you choose to use prawns, I recommend leaving the shells and heads on to add an amazing flavour to the curry. I personally love eating prawn heads, but trust me when I say prawn heads (often used to make prawn stock) is where all the flavour comes from!
Amy’s Napa Cabbage Curry
 Ingredients
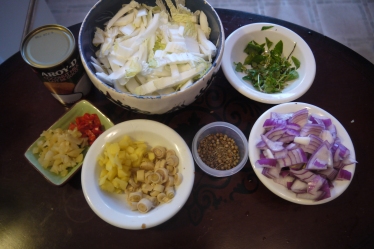
- Chicken / prawns /meat substitute (marinated with rice wine, fish sauce, salt, pepper and dash of soy sauce)
- Napa cabbage (cut side ways and chop into strips)
- Lemongrass (cut into little bits)
- 1 onion chopped
- Lots of ginger
- Lots of garlic
- Cumin
- Coriander seeds
- Oil of choice
- ½ cup coconut milk + ½ cup chicken stock (adjust depending on how much curry you want)
Note: Please buy a Thai brand of coconut milk! I usually use Aroy-D. Tried Western ‘health’ brands and the taste is just not the same. - Lime
- Coriander (for garnishing)
- Curry powder + touch of tumeric if you have it
- 2 freshly cut bird’s eye chilli

- Marinate the meat with the marinade sauce for a few hours / overnight.
- Dry-roast the cumin and coriander seeds till they pop.
- Put the onion and stir-fry till a bit limp with oil of choice (1-2 minutes)
- Put lemongrass and ginger, stir-fry till slightly brown- this releases the flavour in the lemongrass so it turns almost buttery to taste in the curry!
- Put chilli and garlic and stir-fry on medium heat 1-2 minutes till lightly brown.
- Put chicken and stir-fry lightly but not too much (about 50% seared is enough).
- Gradually put cabbage bit by bit and toss about till slightly wilted.
- Put coconut milk/ chicken stock mixture in gradually and let simmer gently; put curry powder and cayenne pepper if using.
- Garnish with coriander and squeeze lime juice on top.
- Serve with jasmine rice and slice of lime!
BONUS! Tips for cooking rice on the stove top!
I usually cook my rice in a small pot. I used to cook rice in a rice cooker but I find that unless you have an expensive, reputable one (ie. Tiger or Zojiroshi), the rice tends to come out dry and sad (yes, rice can be sad! and failed rice is something that makes me cry). I always double the water to rice, and I add in some chicken stock and Himalayan pink salt.
First, put to boil and when water is boiling, decrease heat to half. Just when all the water is almost evaporated, cover with lid, turn off heat and let the rice sit and cook gently from the heat of the pot. This additional step is what I found helps to not only prevent burning, but also makes rice soft, yet not too soft!

 Hi! So here is my version of the Vietnamese Shrimp Roll a.k.a the Asian taco in our household. I changed things up a little to suit my tastes and the springtime weather. My version leaves a refreshing, herby taste in the month. Coupled with fresh shrimps, marinated garlic and fresh herbs, this dish is going to blow your mind in its simplicity and magic! It is really the combination of ingredients here built into a simple rice roll that makes for magical food alchemic goodness.
 After your shrimps are cooked, it’s time to slice them in half and devein them. Try not to skip this step as it helps the marinade to penetrate the pasty white shrimp meat better later. You will thank me!
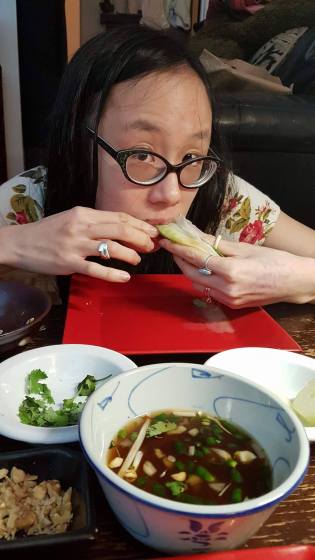 Marinade for approximately 1 bag of shrimps:
  Vietnamese dipping sauce (makes 500ml)


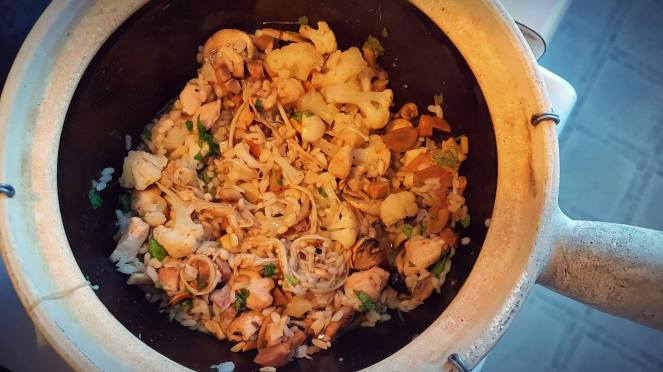 Amy’s One-Pot-Fits-All Claypot Rice
 Dry roast coriander and cumin till they ‘pop’.

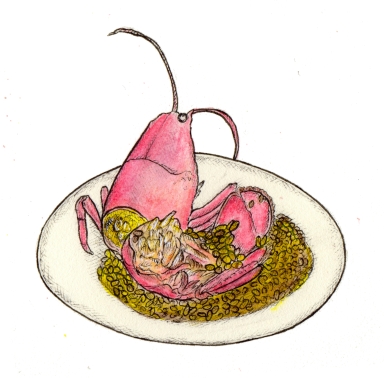 A successful Lobster and Rice is something sublime. It possesses a depth and complexity of flavour; you taste the sea in the freshness of the seafood. First, you start with the piping hot rice, but just as you have barely chewed it, you have already tasted all the flavours within the broth which is infused with the mild yet fresh sweetness of the prawns. You swallow, wishing that it never finishes, gets cold, or soaks up all the soup. Then, you start with the lobster, feasting your eyes on its myriad textures and the vibrant colour of its shell. A little more rice and then… a bite upon the immaculate, white body. Irresistible. Finally, you find a last bit of juicy meat hidden in the head and you suck out the last bit of broth, infused with lobster essence.
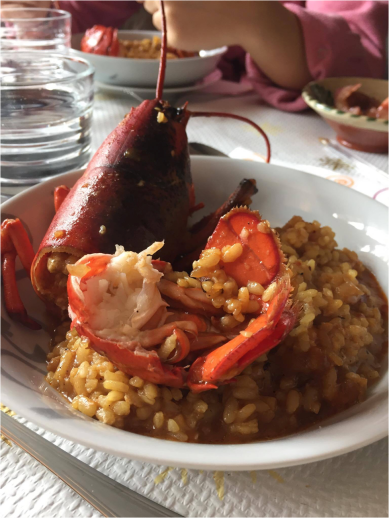
 Pandan cake is probably my favourite ‘cake’ growing up in Singapore. As a kid, I loved my cakes airy and fluffy. It really wasn’t until I came to Montreal was I able to savour the more traditional idea of cake in the form of cute patisseries (which are too overpriced and cloyingly-sweet in Singapore anyway). When I returned to Singapore in 2012, I was rather underweight and that perhaps amplified my sweet tooth to an umpteenth degree so much that cakes and all sweet breads took on an addictive quality. I fell deeply in love with my aunt’s moist and sweetly aromatic pandan chiffon cake, a recipe she has kindly written down for me to share with you!
 For those unfamiliar with South East Asian spices, pandan is very commonly used in desserts, or even curries and in rice (cooked together with coconut milk or chicken stock). Cooked in curries or rice, these leaves are tied into a knot to release their flavour. It’s very hard to describe the taste of pandan. It recalls for me earthy textures and childhood memories of humid evenings heavy with the swirl of different smells emitting from the nearby hawker centres. It is a taste that I find irresistible and comforting, and I can’t quite think of a taste that comes close to it.
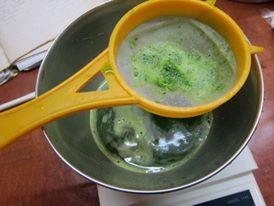 Pandan chiffon cake
 water if necessary to make 50g pandan juice.
 Ingredients for paste
 Prep:
Prep:
 As a child, I grew up eating Alexander Road’s famous raw fish porridge every Saturday morning. For the uninitiated, raw fish porridge consists of savoury mouth-melting fish that dissolves into your mouth, mixed with delicious creamy congee, freshly cut ginger and the spicy tang of chilli; a combination that can only be described as apotheosis-tic. When my husband and I returned to that place last year, the place had shut down after decades because of the raw fish ban in Singapore. We were very sad. However, it’s with some consolation that I present to you my take on the classic Teochew Fish porridge, with a Japanese, Cantonese and Western twist.
 Ingredients (3 servings)

 Justine: As a toddler I was fascinated by new tastes and intricate flavors, not long after I began to use the stove. I delight in the alchemy of cooking and fermenting. Growing food and living in California has influenced my style, I love the flavor of fresh in-season colorful fruits and veggies. Cooking is a beautiful endeavor, preparing the world to be pleasing to us so it can fuel us to do the things we enjoy.