This is a recipe that I picked up in Argentina. Before making this, I was of the opinion that chicken breast is kind of gross, often dry, and definitely boring. Then I realized: the secret to delicious chicken breast is to pound it flat and add lots of seasonings. Welcome to the best fried chicken tenders you have ever had.
Ingredients:
- 4 chicken breasts
- 2 eggs
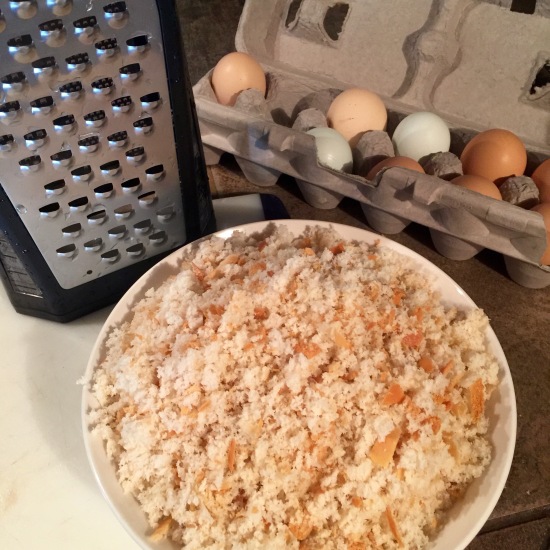
- 2 cups of panko bread crumbs (I made my own (gluten free-) recipe below)
- 1 tsp chili powder
- 1/2 tsp quality salt
- 1 TBS fresh oregano leaves, or 1 tsp dried
- 1/2 tsp white and black pepper freshly ground
- Cayenne to taste (can also be left out for a kid friendly recipe)
- 2-4 cups olive oil blend (depending on size of pan)
If you are making your panko bread crumbs, start on them first. The quality of bread is not important for panko, what sets them apart is their shape. They are little shreds, versus round tiny crumbs.
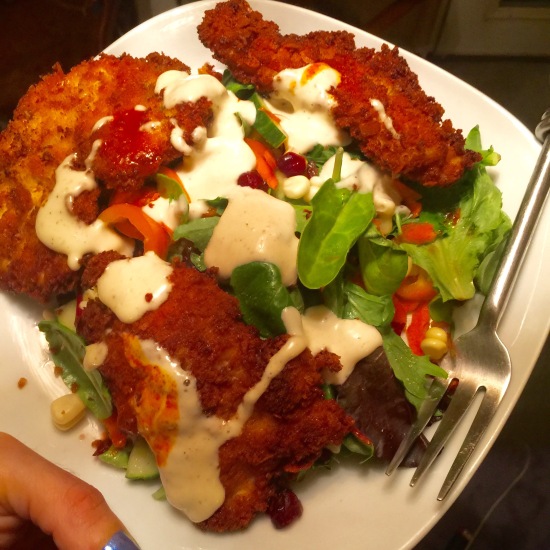
Cut your chicken breast so that it lies completely flat, and pound it to 1/4 inch. Either leave the breasts whole, or cut into smaller pieces or strips. While this dish is often served with mozzarella and marinara on top, I decided to bend the rules and make a caesar salad. (I heard zero complaints 🙂

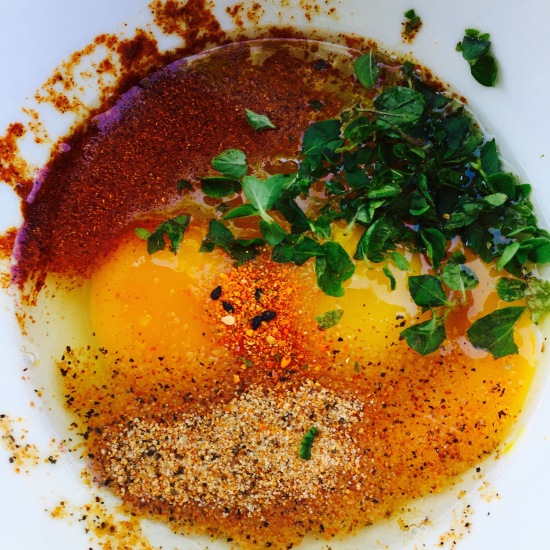
Whip up the eggs in a medium bowl and add oregano, salt, ground peppers, chili (and cayenne if you’re using it.)
Add your chicken breasts to the egg mixture.

Pour some panko into a large bowl, add an eggy piece of chicken, and pour some more panko on top. Press the bread crumbs into the chicken as much as possible. Set it aside and repeat with the remaining chicken.
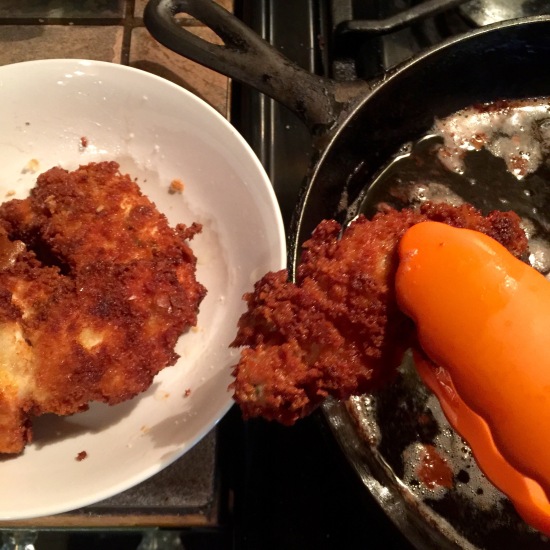
I used a cast iron to fry the chicken, but you can use whatever you’re most comfortable with. Heat 1/4 inch of oil to medium high- if a drop of water sizzles, then its ready. Add as many pieces will fit in one layer, without overloading the pan. Cook for 2-3 minutes, until the bottom is browned. Flip, and repeat on the other side. Remove and let sit on paper towels. If you are not serving right away, keep the chicken in the oven at 240°F (114°C.)
How you serve this is up to you. Adding a stellar marinara, some fresh mozzarella, and giving it one minute under the broiler is delicious. You can also top it with a queso fresco, or even a mild feta. I chose to put it on top of a caesar salad, and double cast it as crouton and chicken all in one. It was divine.

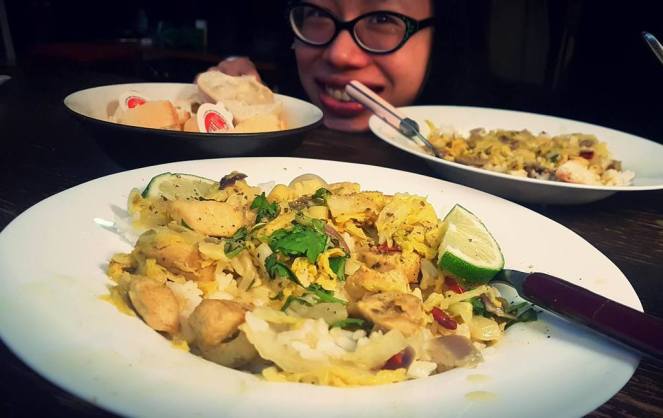
 This is a favourite dish in our household at basically at any occasion if we want something nourishing yet aromatic and fragrant. Paired with fluffy steamed jasmine rice, this dish is truly divine. The coconut curry truly blends with the rice and spices in a marriage of flavours ordained by the priests of food alchemy. The cabbage and tiny meat pieces add variety and texture, the roasted lemongrass saturates your mouth in a buttery dance, and the chilis are just enough to give you a kick without making you cry (except perhaps with tears of joy).
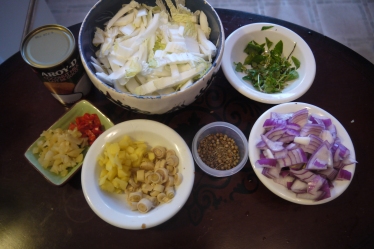 Ingredients

 Hi! So here is my version of the Vietnamese Shrimp Roll a.k.a the Asian taco in our household. I changed things up a little to suit my tastes and the springtime weather. My version leaves a refreshing, herby taste in the month. Coupled with fresh shrimps, marinated garlic and fresh herbs, this dish is going to blow your mind in its simplicity and magic! It is really the combination of ingredients here built into a simple rice roll that makes for magical food alchemic goodness.
 After your shrimps are cooked, it’s time to slice them in half and devein them. Try not to skip this step as it helps the marinade to penetrate the pasty white shrimp meat better later. You will thank me!
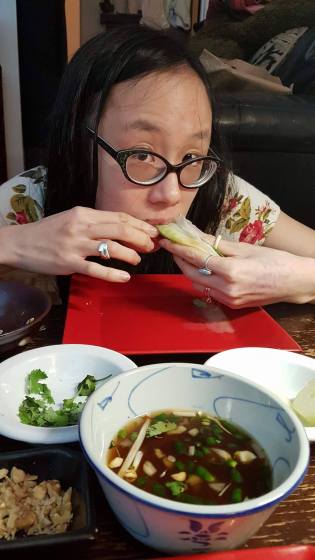 Marinade for approximately 1 bag of shrimps:
  Vietnamese dipping sauce (makes 500ml)


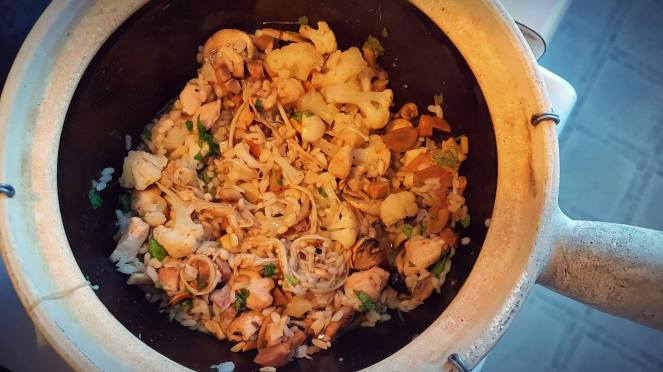 Amy’s One-Pot-Fits-All Claypot Rice
 Dry roast coriander and cumin till they ‘pop’.

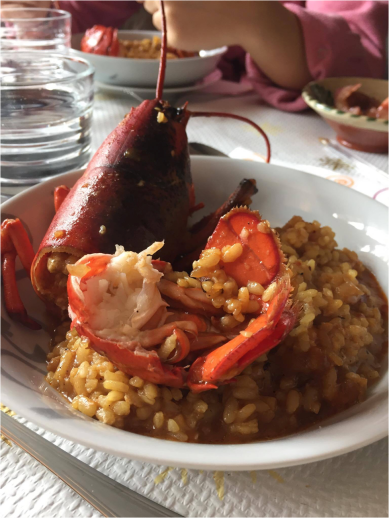
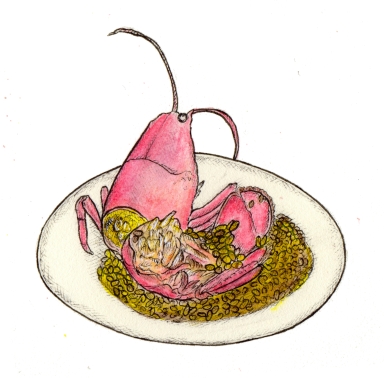 A successful Lobster and Rice is something sublime. It possesses a depth and complexity of flavour; you taste the sea in the freshness of the seafood. First, you start with the piping hot rice, but just as you have barely chewed it, you have already tasted all the flavours within the broth which is infused with the mild yet fresh sweetness of the prawns. You swallow, wishing that it never finishes, gets cold, or soaks up all the soup. Then, you start with the lobster, feasting your eyes on its myriad textures and the vibrant colour of its shell. A little more rice and then… a bite upon the immaculate, white body. Irresistible. Finally, you find a last bit of juicy meat hidden in the head and you suck out the last bit of broth, infused with lobster essence.